DataScale SN30 power management
For proper operation of the DataScale® SN30 rack and to prevent issues, be sure you power on and power off the system appropriately and in the correct sequence, as described on this page.
1. Warnings and general notes
The following notices apply to the DataScale SN30 rack.
| Some components within the rack work at high voltage. To prevent personal injury and voiding of the warranty, do not attempt to service components except where noted. |
| To protect the DataScale SN30 rack from interference and to prevent damage to its components, keep the front and rear rack doors closed during standard operation. |
| To prevent DataScale SN30 rack components from overheating, keep the front and rear of the rack clear of obstructions to allow proper airflow. |
| Before powering on the DataScale SN30 rack, read the SambaNova DataScale SN30 Rack Release Notes, included in SN30 hardware installation (at https://docs.sambanova.ai) to ensure that you understand any known issues or limitations. If you do not read the release notes, you might incorrectly configure the system components or software, which might necessitate a factory reset. |
| Do not power off or reboot the DataScale SN30 rack components during any firmware update procedure. Doing so might damage the DataScale SN30 rack components, and damaged components might not be recoverable. Perform a shutdown or reboot only after a firmware update has been completed. |
| When the PDUs are physically connected to the datacenter’s power receptacles and power is applied to the rack, all DataScale SN30 rack components begin to power on. The fans of these components initially run at full speed but eventually ramp down after the BMCs finish their boot sequence. Power is not immediately applied to the rack components because the breakers on the PDUs are turned off. You must manually turn on these breakers to begin feeding power to the DataScale SN30 rack components. |
2. Process overview
To avoid damage to the system, perform the power-on procedure or a graceful shutdown in the correct order. Here’s an overview.
To turn on the DataScale SN30 rack, follow the detailed steps below. Here’s an overview:
-
Power on the DataScale SN30 rack by turning on the circuit breakers for each PDU.
-
Boot the DataScale SN30-2 RDU modules
-
Boot the DataScale SN30-H host module
To gracefully shut down the DataScale SN30 rack, follow the detailed steps in Gracefully shutting down the DataScale SN30 rack. Here’s an overview:
-
Shut down the SN30-H host modules
-
Shut down the DataScale SN30-2 RDU modules
3. Power on the DataScale SN30 rack
| Power on the DataScale SN30-2 RDU modules before you power on the DataScale SN30-H host modules, as described in the following steps. |
-
Turn on the six circuit breakers for each PDU.
When the PDUs are plugged into the datacenter power and you close the circuit breakers, power is automatically applied to the DataScale SN30 rack components. Circuit breakers on PDU shows what a PDU circuit breaker group looks like and shows breaker switch 6 circled. Each PDU has a bank of three circuit breakers grouped together.
 Figure 1. Circuit breakers on PDU
The DataScale SN30-H host modules and DataScale SN30-2 RDU modules boot into standby mode and wait to be manually powered on. The BMC/service processors are powered on through these devices. The networking equipment in the rack does not go into standby mode; instead, it completely boots when power is established.
SambaNova uses networking equipment from other suppliers. See Third-party documentation.
4. Boot the DataScale SN30-2 modules
Boot the DataScale SN30-2 RDU modules by using SSH to connect to the SN30-2 BMC, or by sending an API call to the SN30-2 BMC. This section includes steps for both options.
4.1. Option 1: Use SSH to connect to the SN30-2 BMC
-
From a system that has access to the DataScale SN30 rack access network, open a terminal session and use
sshto securely connect to the first DataScale SN30-2 RDU module in each system.See the IP address assignment information in Network administration or use your customer-specific IP assignment worksheet to get the IP address to connect to. The first DataScale SN30-2 RDU module in each system is as follows:
System 1: SN30-2-1 (SN30-H-1-XRDU0)
System 2: SN30-2-5 (SN30-H-1-XRDU0)
Here’s an example for system 1 that assumes IP address subnet 10.0.1.0/26 for the access network:
$ ssh [email protected] [email protected]’s password: <Enter root password> root@xrdu:~# -
Run the following
xrduutilcommand to power on the system:root@xrdu:~# xrduutil -U root -P <root_password> poweron -
To ensure the DataScale SN30-2 RDU modules are up before you boot the DataScale SN30-H host module, check the status of each of each module by running this command:
root@xrdu:~# xrduutil -U root -P <root_password> powerstate
Power is on for XRDU_0
Power is on for XRDU_1
Power is on for XRDU_2
Power is on for XRDU_3
4.2. Option 2: Send a REST API call to the SN30-2 BMC
-
Generate a token (recommended). If you use the REST API, SambaNova recommends that you use token-based authentication so that plain-text passwords are not sent over the network for REST API commands. See Generate a secure API login token for details.
-
Run the REST API power-on command for each DataScale SN30-2 RDU module. Run this command for each DataScale SN30-2 RDU module in each of the nodes, in no particular order.
Format:
$ curl -b cjar -k -H "X-Auth-Token: $token" -X PUT -d '\{"data":"xyz.openbmc_project.State.Chassis.Transition.On"}' https://<SN30-2_BMC_IP>/xyz/openbmc_project/state/chassis0/attr/RequestedPowerTransitionExample:
$ curl -b cjar -k -H "X-Auth-Token: $token" -X PUT -d '\{"data":"xyz.openbmc_project.State.Chassis.Transition.On"}' https://10.0.1.21/xyz/openbmc_project/state/chassis0/attr/RequestedPowerTransition -
To ensure the DataScale SN30-2 RDU modules are up before you boot the SN30-H, run the following command against each of the DataScale SN30-2 RDU modules:
Format:
$ curl -b cjar -k -H "X-Auth-Token: $token" https://<SN30-2_BMC_IP>/xyz/openbmc_project/state/chassis0Example:
$ curl -b cjar -k -H "X-Auth-Token: $token" https://10.10.0.25/xyz/openbmc_project/state/chassis0After an SN30-2 RDU module is powered on, the output looks similar to the following:
{
"data": {
"CurrentPowerState": "xyz.openbmc_project.State.Chassis.PowerState.On",
"LastStateChangeTime": 1591197275103,
"POHCounter": 75,
"RequestedPowerTransition": "xyz.openbmc_project.State.Chassis.Transition.On"
},
"message": "200 OK",
"status": "ok"
}
4.3. Option 3: Mechanical power-on
To power on the SN30-2 resources:
-
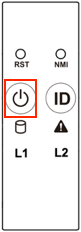
Press the power button located on the front panel of the SN30-2 for 5 seconds. This panel is located on the front left side of the system. The power button is identified as item 1 in SN30 front panel (annotated).
-
Wait for the system LED (callout item 2) to go from blinking to solid green light.
 Figure 2. SN30 front panel (annotated)
 -
When the system LED is no longer blinking, the SN30-2 resources are being powered on. This power on process can take up to a minute.
-
Repeat the process for each SN30-2 system in the SN30-8 node.
5. Power on the DataScale SN30-H host module
| To ensure that the DataScale SN30-H host module populates the system device tree properly, power on the host module only after the DataScale SN30-2 RDU modules are powered on fully. |
Boot the DataScale SN30-H host module using either mechanical power on, or power on via IPMI, or power on via the Web UI. This section discusses each option.
5.1. Option 1: Mechanical power on
To power on the SN30-H host module, press the power button located on the front panel of the SN30-H. This panel is located on the front left side of the server.
5.2. Option 2: Power on via IPMI
Run the following command from a system that has ipmitool installed and that has access to the SN30-H host module’s BMC via the access network.
$ ipmitool -I lanplus -H <SN30-H_BMC_IP_Address> -U root -P <root password> power on5.3. Option 3: Power on via WebUI
To power on via WebUI your system must meet the following requirements:
-
Access to the DataScale SN30-H host module’s BMC via the access network
-
One of the following supported web browsers:
-
Chrome (latest version)
-
Firefox (latest version)
-
Follow these steps:
-
Open a web browser.
-
In the browser’s address bar, enter the IP address of the SN30-H host module’s BMC.
-
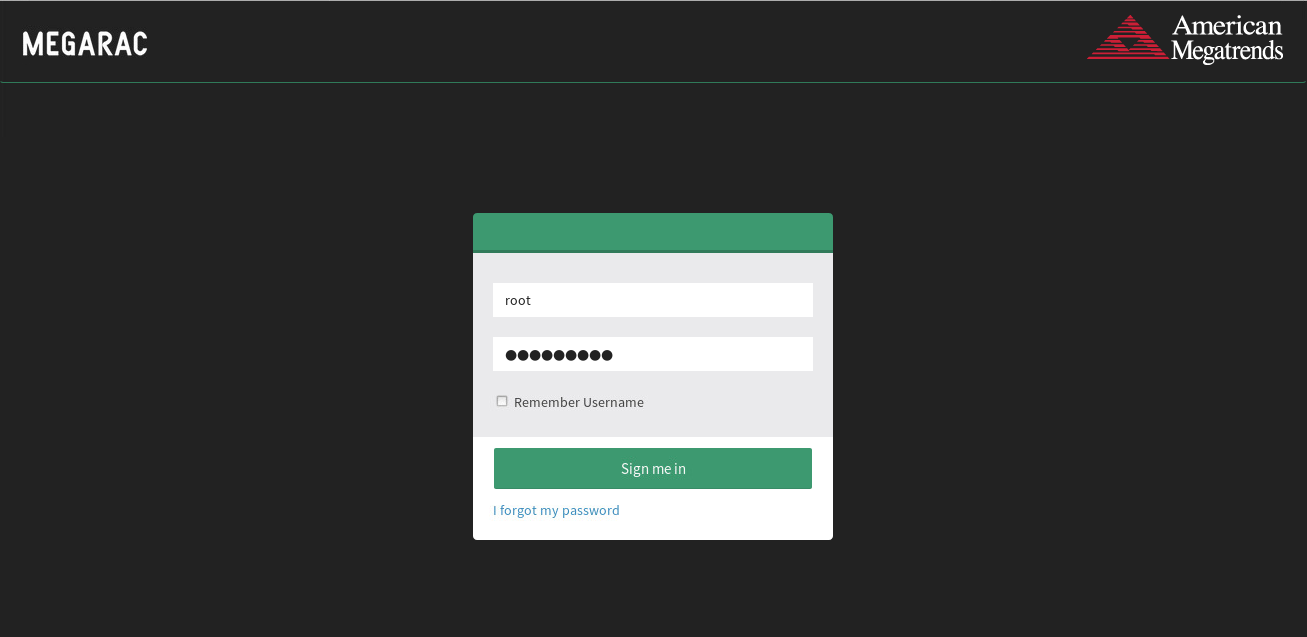
Log in to the management console by entering the user credentials.
-
Click Sign me in.
-
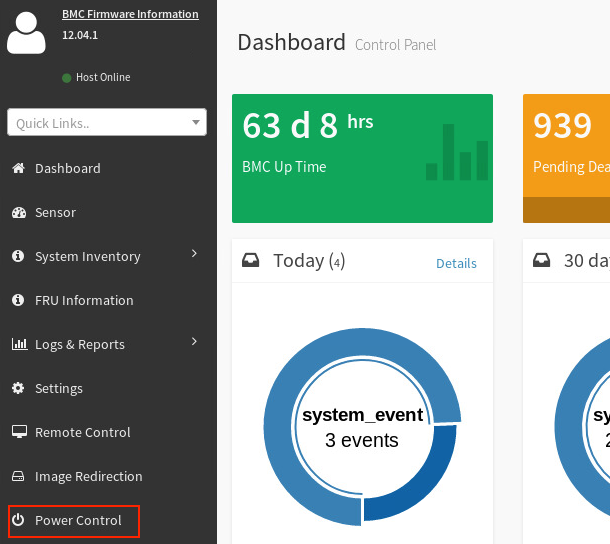
Select Power Control from the BMC dashboard.
-
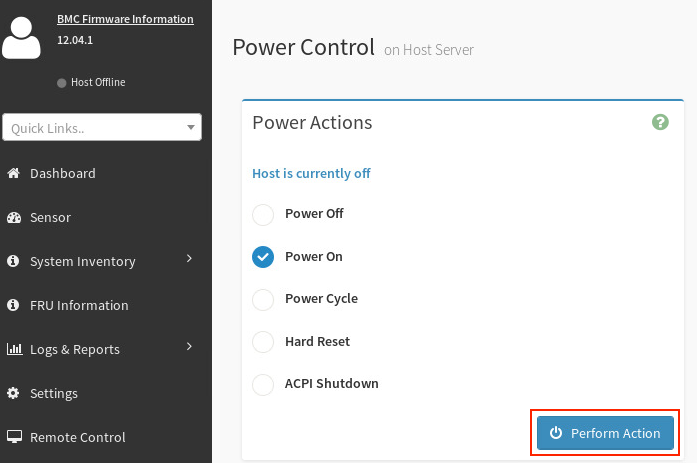
Select the Power On checkbox, and then click Perform Action.
-
Perform this boot sequence for all nodes in the DataScale SN30 rack. The order in which you bring up the nodes does not matter.
6. Gracefully shutting down the DataScale SN30 rack
You can shut down the DataScale SN30 rack without completely powering off the entire rack. Follow these steps for each node in the DataScale SN30 rack.
6.1. Shut down the SN30-H host modules from the OS
Log in to the node via ssh as snuser1 and initiate a shutdown command.
$ ssh snuser1@<SN30-H_OS_IP_Address>
snuser1@SN30-H1’s password: <password>
$ sudo shutdown
This command does not shut down the system immediately, but waits about a minute for users to save their work.
6.2. Shut down the DataScale SN30-2 RDU modules
Shut down the DataScale SN30-2 RDU modules in the node using one of the following methods:
6.2.1. Option 1: Use SSH to connect to the DataScale SN30-2 BMC
-
Open a terminal session from a system that has access to the DataScale SN30 rack access network
-
Use
sshto connect to the first DataScale SN30-2 in each node.See the IP address assignment information in Network administration or use your customer-specific IP assignment worksheet to get the IP address to connect to. The first DataScale SN30-2 RDU module in each system is as follows:
System 1: SN30-2-1 (SN30-H-1-XRDU0)
System 2: SN30-2-5 (SN30-H-1-XRDU0)
Example for system 1 given IP address subnet 10.0.1.0/26 for the access network:
$ ssh [email protected] [email protected]’s password: <Enter root password> root@xrdu:~# -
Run the
xrduutil poweroffcommand:root@xrdu:~# xrduutil -U root -P <root_password> poweroff
6.2.2. Option 2: Send a REST API call to the DataScale SN30-2 BMC
SambaNova recommends that you use token-based authentication so that you do not send plain-text passwords over the network for REST commands. See Generate a secure API login token. After you generate the token, start shutting down the components:
-
Run the REST API power-off command for each of the DataScale SN30-2 RDU modules in each of the systems.
Format:
$ curl -b cjar -k -H "X-Auth-Token: $token" -X PUT -d '\{"data":"xyz.openbmc_project.State.Chassis.Transition.Off"}' https://<SN30-2_BMC_IP>/xyz/openbmc_project/state/chassis0/attr/RequestedPowerTransitionExample:
$ curl -b cjar -k -H "X-Auth-Token: $token" -X PUT -d '\{"data":"xyz.openbmc_project.State.Chassis.Transition.Off"}' https://10.0.1.25/xyz/openbmc_project/state/chassis0/attr/RequestedPowerTransition -
Shut down the Juniper QFX5130 high-bandwidth data switch, the Lantronix SLC8000 serial console server, and the Juniper EX series access switch.
When you power down the entire DataScale SN30 rack, shut down the Juniper EX series access switch last, because that switch controls the final access to the system via the network.
See the product-specific documentation listed under Third-party documentation for information on how to shut down each of these network devices:
| After shutting down these switches, you can no longer access the PDUs to cycle outlets because their network switch is down. You have to break and manually remake the relevant breakers from the physical PDU to properly cycle power. |