This section guides you through installing SambaStack by preparing your configuration, setting up authentication, and verifying deployment to start managing your instance effectively.
Prerequisites
Before installing SambaStack:
Sample sambastack.yaml
Use the sample sambastack.yaml file to help you prepare your instance configuration, including service tiers, authentication, and optional settings. This file shows a model to use after deployment (bundleDeploymentSpecs), defines service tiers for rate limits and model access for user groups (serviceTiers), and configures admin settings (db-admin).
apiVersion: v1
kind: ConfigMap
metadata:
  annotations:
    serial: "1"
  name: sambastack
  labels:
    sambastack-installer: "true"         # [REQUIRED] Tells the installer to use this config
data:
  sambastack.yaml: |                     # [REQUIRED] Installer looks for the file 'sambastack.yaml'
    version: 0.3.263                     # [REQUIRED] Version of sambastack to install
    bundles:                             # [OPTIONAL] Static inference configuration
      bundleSpecs:                       #            The Bundles to allow. This will install both a BundleTemplate and
                                         #            a matching Bundle with the same that provides default checkpoints
                                         #            to the BundleTemplate. You can manually add additional Bundles
                                         #            for an installed BundleTemplate here to BYOC. The BYOC APIs will
                                         #            only be able to BYOC a BundleTemplate enabled here, so you can
                                         #            use this list to limit which model architectures are available.
                                         #
      - name: llama-4-medium             #            This serves Llama-4-Maverick-17B-128E-Instruct.
                                         #
      bundleDeploymentSpecs:             #            BundleDeployments to create (putting the model on a machine).
      - name: llama-4-medium             #            Name of the Bundle to deploy.
        groups:                          #            The deployments to create for this bundle.
        - name: "default"                #            Unique name for this deployment.
          minReplicas: 1                 #            Number of machines this BundleDeployment should run on.
          qosList:                       #            Different QOS levels to allow access to the BundleDeployment.
          - "web"
          - "free"
    db-admin:                            # Defining user id as admins with their email IDs
      admins:
        - abc@example.com
    serviceTiers:                        # [Optional] Configure serviceTiers
      <Tier1>:                           #     Name a custom service tier
      - models:                          #     List models allowed in the service tier
        - Llama-4-Maverick-17B-128E-Instruct
        queueDepth: 100                  #     Queries to queue before returning busy
        qos: "example"                   #     Quality-of-service, usually same as service tier name
        rates:                           #     Rate limit list
        - allowedRequests: 0
          periodSeconds: 30
      <Tier2>:                           #     Name a custom service tier that inherits another tier
        inherits: <Tier1>
        overrides:
        - models:
          - Llama-4-Maverick-17B-128E-Instruct
          queueDepth: 100
          qos: "example"
          rates:
          - allowedRequests: 2
            periodSeconds: 30
Step 1: Install sambastack.yaml
The SambaStack installation is managed through the SambaStack Installer, which is already enabled in the cluster for Hosted deployments. The Installer reads the sambastack.yaml configuration file stored as a ConfigMap and applies it to set up your instance.
Prepare the file
The file defines the configuration for your instance (e.g., service tiers, authentication, optional features). Use the sample file above as a reference when creating your own.
Apply the configuration
kubectl apply -f <path-to-sambastack.yaml>
configmap/sambastack configured
Sanity checks
-
Check installer logs and retrieve UI/API domain names with:
kubectl -n sambastack-installer logs -l sambanova.ai/app=sambastack-installer -f
NAME: sambastack
LAST DEPLOYED: Thu Sep 11 10:18:54 2025
NAMESPACE: default
STATUS: deployed
REVISION: 7
TEST SUITE: None
[INFO] (helm_upgrade_install) Upgraded/installed sambastack release
[INFO] (configure_default_ingress) UI Domain: ui-domain-example.sambanova.ai
[INFO] (configure_default_ingress) API Domain: api-domain-example.sambanova.ai
-
Verify cluster pods
Step 2: Authentication setup and user management
You have two options for authentication setup.
Option 1: SambaNova provided Keycloak configuration (default)
For hosted SambaStack, SambaNova provides a default Keycloak instance for authentication.
Key considerations and common issues
- Email is required: Users without an email cannot log in.
- Unique usernames: Duplicate usernames are disallowed; keep username and email aligned.
- Permanent passwords: Initial passwords should not be temporary unless a user reset is desired.
- Browser tip: Use Chrome for Keycloak admin UI when port-forwarding to avoid session cookie issues.
Steps to log in to Keycloak
-
Retrieve admin credentials:
kubectl get secret keycloak-initial-admin -o go-template='username: {{.data.username | base64decode}} password: {{.data.password | base64decode}}'
username: admin
password: <random-password>
-
Port-forward Keycloak service
kubectl port-forward svc/keycloak-service 8080
- Access via Chrome at
http://localhost:8080 and log in using the retrieved credentials.
- Manage users by following the Keycloak Server Administration Guide.
Option 2: Custom OIDC configuration
To use your own OIDC provider:
Gather required values
| Source | Values |
|---|
| Provided by your OIDC provider | OIDC_CLIENT_ID, OIDC_CLIENT_SECRET, OIDC_ISSUER_URL, OIDC_REDIRECT_URI |
| Random string to be created | JWT_SECRET_KEY |
OIDC_CLIENT_ID, OIDC_CLIENT_SECRET, OIDC_ISSUER_URL, OIDC_REDIRECT_URI, and JWT_SECRET_KEY.
Values will be base64-encoded during upload, even if provided as plain text.
Create Kubernetes secret (oidc_auth.yaml)
See optional example for using custom OIDC provider.
apiVersion: v1
kind: Secret
metadata:
  name: oidc-auth
stringData:
  OIDC_CLIENT_ID: "example"
  OIDC_CLIENT_SECRET: "example"
  OIDC_ISSUER_URL: "https://auth.example.com/""
  OIDC_REDIRECT_URI: "https://ui.example.com/web/auth/callback"
  JWT_SECRET_KEY: "example"
Apply to create secret object
This command takes your YAML file and creates a secret object named oidc-auth inside Kubernetes.
kubectl apply -f oidc_auth.yaml
Update sambastack.yaml
Add or update the following config data:
data:
  sambastack.yaml:
    auth:
      authSecretName: oidc_auth
Apply and verify secret
kubectl apply -f sambastack.yaml
kubectl get secret | grep oidc
oidc-auth                      Opaque           5          10s
sambastack-oidc-auth           Opaque           5          7m53s
Step 3: Log into SambaStack UI and make API calls
-
Obtain the domain names from the installer logs (see Step 1)
-
Access the UI domain using Google Chrome to avoid compatibility issues.
-
Log in using your credentials via the authentication flow.
-
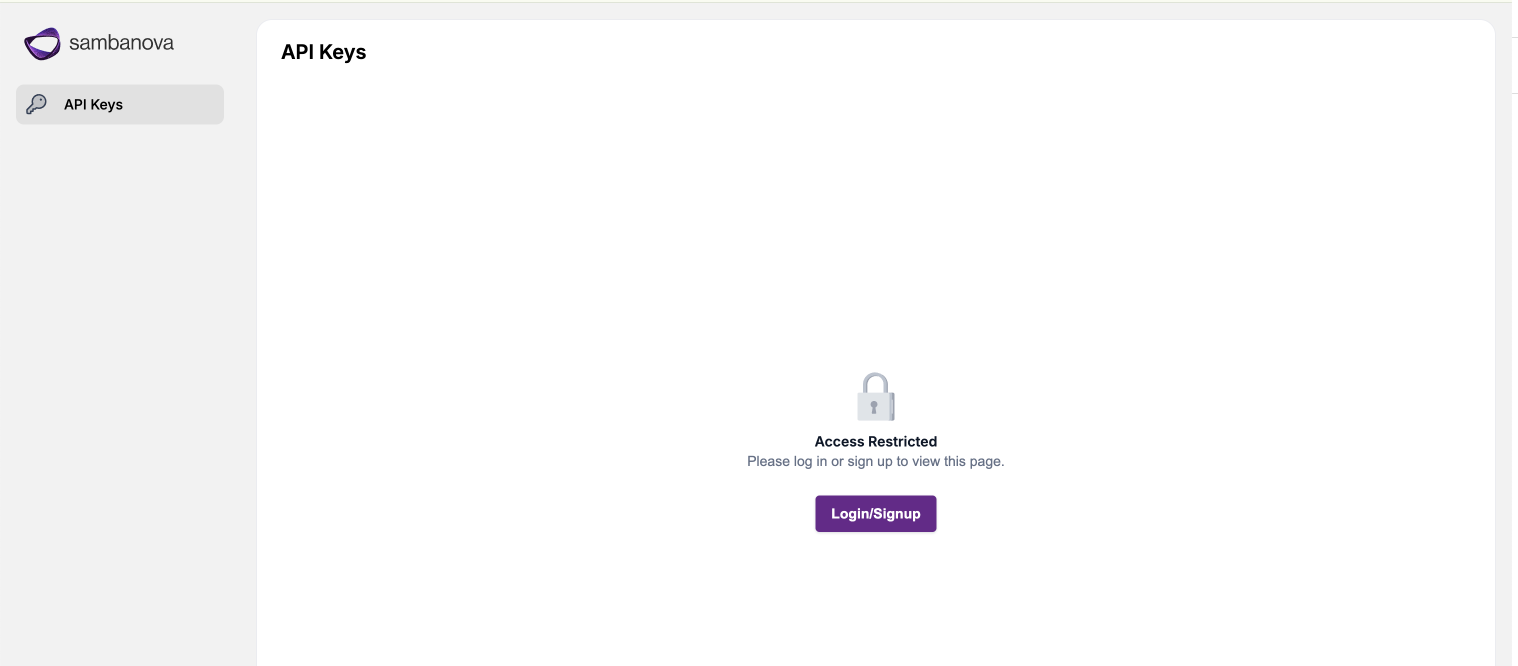
After login, navigate to the API Keys page to create and manage API keys.
Create and manage API calls
If your deployment does not include bundles, update your sambastack.yaml to deploy at least one model as shown in the sample file, specifying models in bundleSpecs and bundleDeploymentSpecs.
Example snippet from sambastack.yaml:
data:
  sambastack.yaml: |                     # [REQUIRED] Installer looks for the file 'sambastack.yaml'
    version: 0.3.263                     # [REQUIRED] Version of sambastack to install
    bundles:                             # [OPTIONAL] Static inference configuration
      bundleSpecs:                       #            The Bundles to allow. This will install both a BundleTemplate and
                                         #            a matching Bundle with the same that provides default checkpoints
                                         #            to the BundleTemplate. You can manually add additional Bundles
                                         #            for an installed BundleTemplate here to BYOC. The BYOC APIs will
                                         #            only be able to BYOC a BundleTemplate enabled here, so you can
                                         #            use this list to limit which model architectures are available.
                                         #
      - name: llama-4-medium             #            This serves Llama-4-Maverick-17B-128E-Instruct.
                                         #
      bundleDeploymentSpecs:             #            BundleDeployments to create (putting the model on a machine).
      - name: llama-4-medium             #            Name of the Bundle to deploy.
        groups:                          #            The deployments to create for this bundle.
        - name: "default"                #            Unique name for this deployment.
          minReplicas: 1                 #            Number of machines this BundleDeployment should run on.
          qosList:                       #            Different QOS levels to allow access to the BundleDeployment.
          - "web"
          - "free"
sambastack.yaml:
To deploy multiple bundles, list them under bundleSpecs and define each deployment under bundleDeploymentSpecs as separate entries. This example deploys two bundles named llama-4-medium and qwen3-32b-whisper.
data:
  sambastack.yaml: |
    version: 0.3.263
    bundles:
      bundleSpecs:
        - name: llama-4-medium
        - name: qwen3-32b-whisper
      bundleDeploymentSpecs:
        - name: llama-4-medium
          groups:
            - name: "default"
              minReplicas: 1
              qosList:
                - "web"
                - "free"
        - name: qwen3-32b-whisper
          groups:
            - name: "default"
              minReplicas: 1
              qosList:
                - "web"
                - "free"
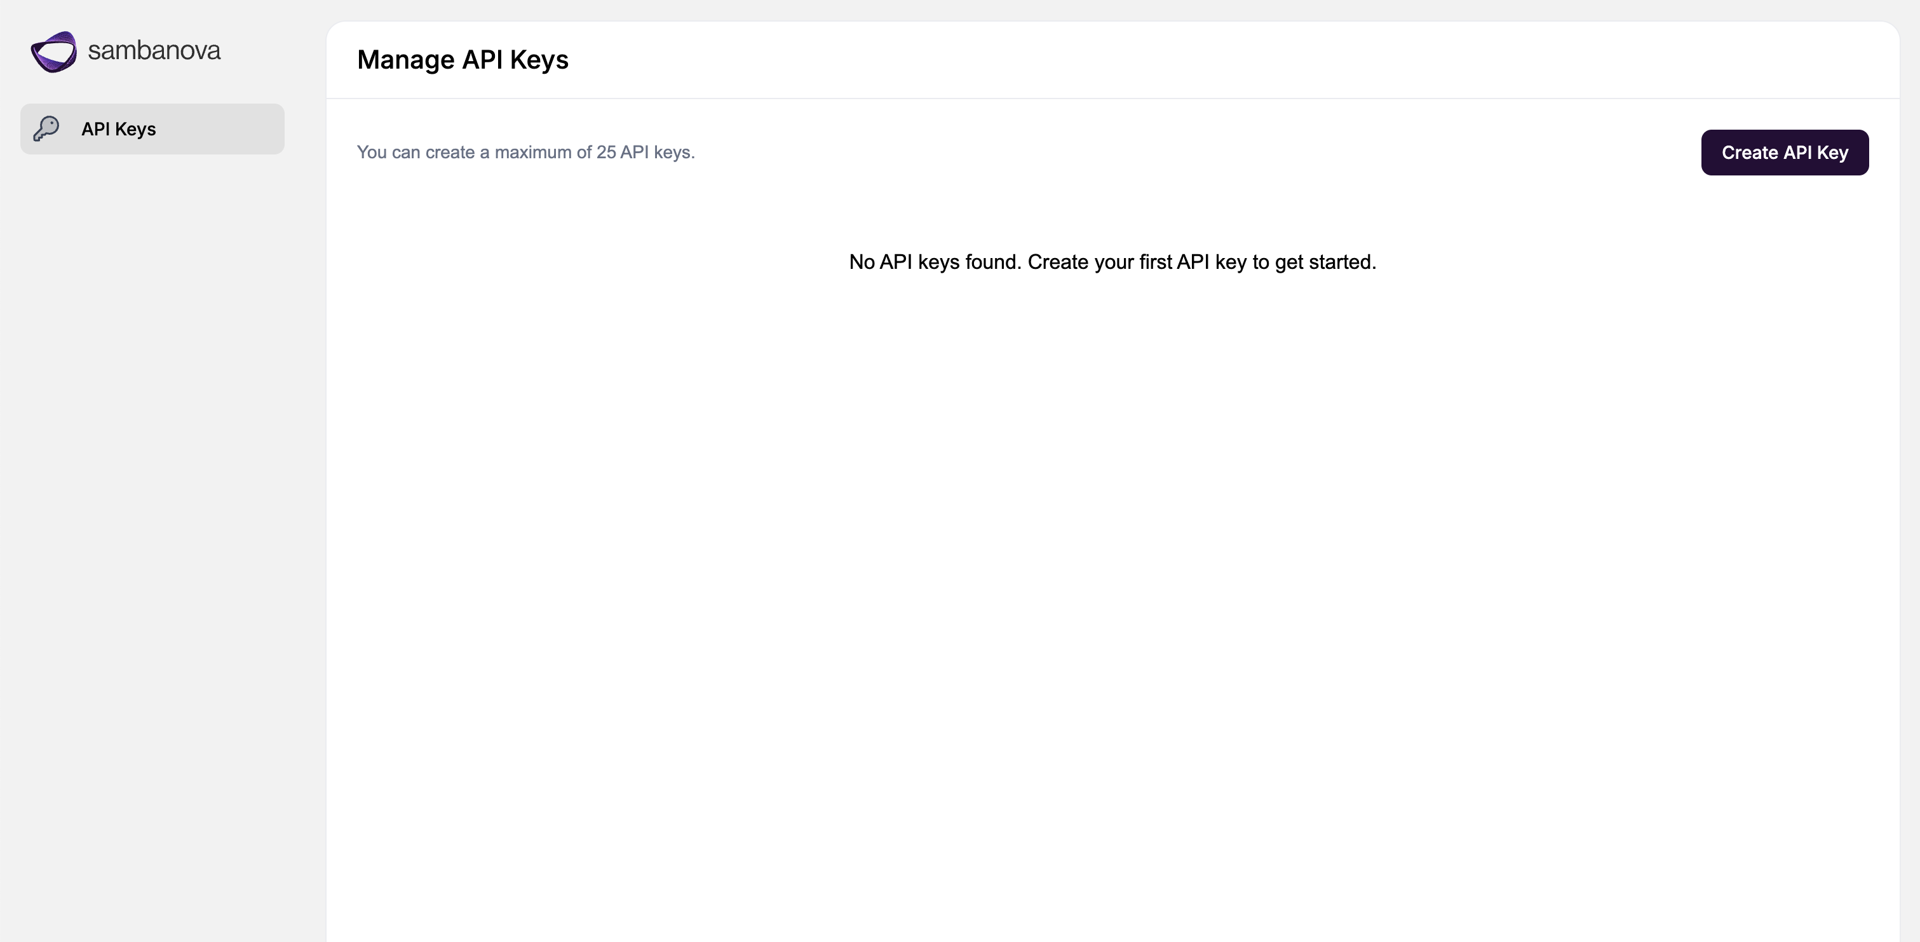
Create and manage API keys
- Log in to the SambaStack UI.
- Navigate to the API Keys page.
- Click Create API Key.
- Enter a name for your new API key.
- Copy and securely save the generated key immediately. The raw key is only displayed once and cannot be retrieved later
To revoke or regenerate keys, manage them from the API Keys page.
Command reference table
| Task | Example command |
|---|
| Set kubeconfig | export KUBECONFIG=<Path for kubeconfig file> |
| Check installer logs and get domain names | kubectl -n sambastack-installer logs -l sambanova.ai/app=sambastack-installer -f |
| Verify cluster pods | kubectl get pods |
| List nodes | kubectl get nodes |
| Apply / update manifest | kubectl apply -f <sambastack.yaml> |
| View applied manifest | kubectl get configmap sambastack -o yaml |
| Retrieve Keycloak admin credentials | kubectl get secret keycloak-initial-admin -o go-template='username: {{.data.username | base64decode}} \n password: {{.data.password | base64decode}}' |
| Access Keycloak as an admin | kubectl port-forward svc/keycloak-service 8080 |